How To Make A Spring Loaded Mechanism
How to Make a Spring Loaded Mechanism: A Step-by-Step Guide for Engineers and DIY Enthusiasts

Introduction
Spring loaded mechanisms are versatile devices used in countless applications, from industrial machinery to everyday household items. Their ability to store and release energy makes them invaluable for tasks requiring controlled motion, precise alignment, or secure locking. In this article, we’ll explore how to design and build a spring loaded mechanism, offering a step-by-step guide for engineers, hobbyists, and DIY enthusiasts.
What is a Spring Loaded Mechanism?
A spring loaded mechanism is a mechanical device that uses the energy stored in a compressed or tensioned spring to perform a specific function, such as releasing, locking, or actuating a component. These mechanisms are widely used due to their simplicity, reliability, and cost-effectiveness.
Step 1: Define the Purpose and Requirements
Before building a spring loaded mechanism, it’s essential to define its purpose and operational requirements. Consider the following questions:
-
What is the mechanism’s primary function (e.g., locking, releasing, or positioning)?
-
What force or movement is required?
-
What are the environmental conditions (e.g., temperature, humidity, or exposure to chemicals)?
-
What size and weight constraints exist?
Step 2: Select the Right Spring
The spring is the heart of the mechanism, so choosing the right type is crucial. Common options include:
-
Compression Springs: Ideal for applications requiring pushing force.
-
Tension Springs: Suitable for pulling or stretching actions.
-
Torsion Springs: Used for rotational or twisting motions.
Consider factors such as spring rate, material, and durability when making your selection.
Step 3: Design the Mechanism
Using CAD software or hand sketches, design the mechanism’s components, including:
-
The housing or frame to hold the spring and other parts.
-
The plunger, latch, or actuator that will move when the spring is released.
-
The locking or release mechanism (e.g., detents, pins, or levers).
Ensure the design accommodates the spring’s dimensions and force requirements.
Step 4: Choose Materials
Select materials that match the mechanism’s intended use. Common choices include:
-
Stainless Steel: For durability and corrosion resistance.
-
Aluminum: For lightweight applications.
-
Plastics: For cost-effective, non-load-bearing components.
Step 5: Assemble the Mechanism
-
Prepare the Components: Cut, shape, and finish all parts according to your design.
-
Install the Spring: Carefully place the spring into its housing, ensuring it is properly aligned.
-
Attach the Actuator: Connect the plunger, latch, or other moving parts to the spring.
-
Test the Mechanism: Manually compress or release the spring to ensure smooth operation.
Step 6: Test and Refine
Once assembled, test the mechanism under real-world conditions. Check for:
-
Smooth and consistent operation.
-
Proper alignment and engagement of components.
-
Durability under repeated use.
Make adjustments as needed to improve performance.
Applications of Spring Loaded Mechanisms
Spring loaded mechanisms are used in a wide range of applications, including:
-
Industrial Equipment: For tooling, fixtures, and safety mechanisms.
-
Consumer Products: In retractable pens, pop-up sockets, and foldable devices.
-
Automotive Systems: For seatbelt pretensioners, latches, and braking systems.
-
Medical Devices: In surgical instruments and drug delivery systems.
Expert Tips
Dr. Emily Carter, a mechanical engineer, advises, "When designing a spring loaded mechanism, always account for spring fatigue over time. Use high-quality materials and conduct thorough testing to ensure long-term reliability."
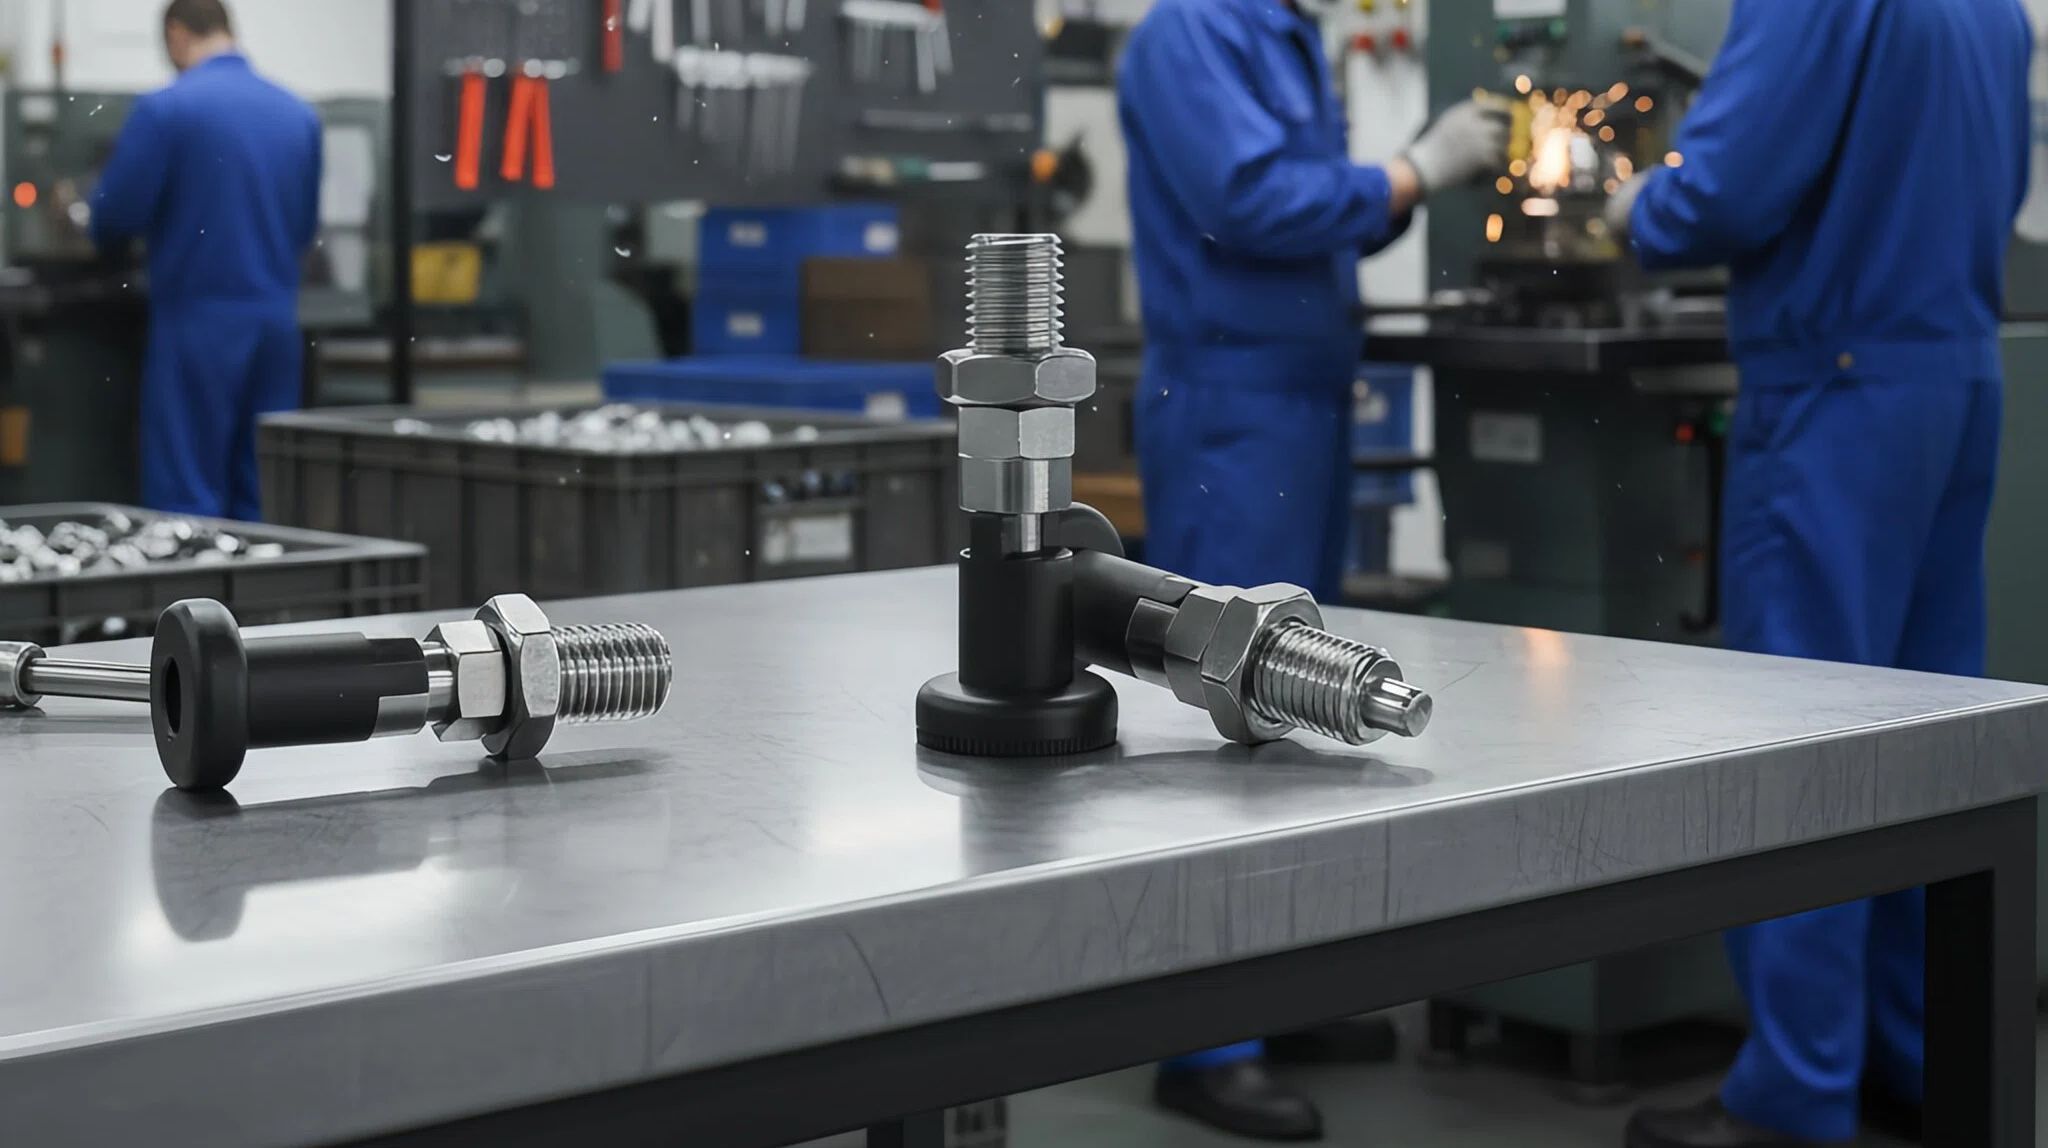
Discover how to make a spring loaded mechanism for secure and efficient fastening in industrial applications. Durable and reliable, they ensure smooth operation. Contact us for custom solutions tailored to your needs.
Spring Plunger Locking Mechanism
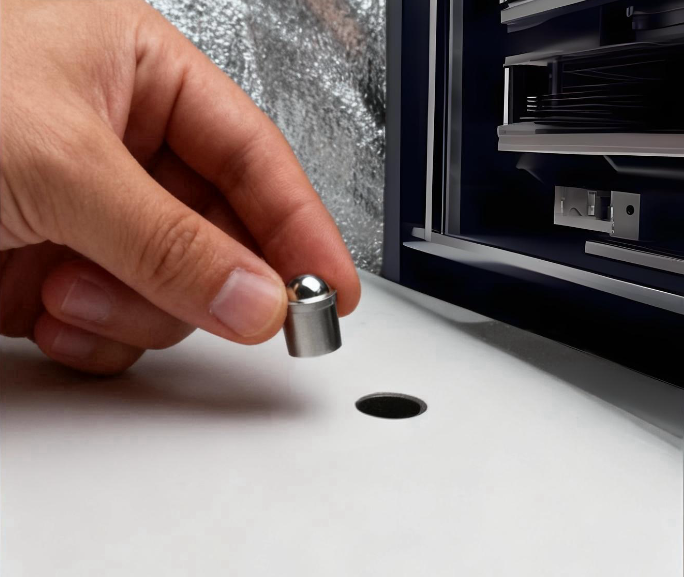
Spring Loaded Locking Mechanism